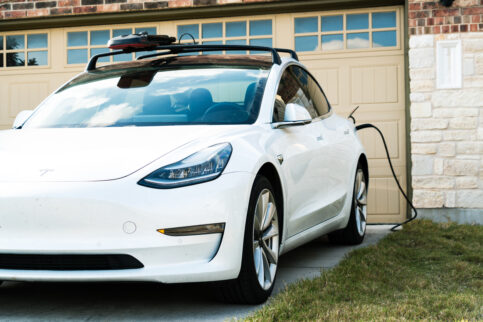
If you own a home and an electric vehicle (EV), chances are you have thought about installing a Level 2 charger. Installing an electric car charger can seem like a daunting task, but we’ll explain the steps you’ll go through to install an EV charger. Installing a Level 2 home charger will take you from gaining 8 km with one hour of charging in your garage wall socket (Level 1) to 30 km in that hour.
Step 1: Find an Electrician
None of this will happen, of course, without a licensed electrician. Not only is this required by law, but your electrician will safely install the charger and play an integral part in passing the necessary inspections.
The best way to select an electrician is to ask for a quote and references. If other people have been satisfied with an electrician’s work, you most likely will, too. The Electrical Safety Authority in Ontario (ESA) can also assist in your search.
Step 2: Make Sure Your Home Is Compatible
Talk to your local municipality to confirm that your home can have an EV charger installed either inside a garage or outside. A Level 2 EV charger has the same electrical (240 volts/30 amps) as a stove or clothes dryer.
Step 3: Confirm Your Electricity Connection
Check with your local hydro authority to make sure your home has the proper electrical panel for an electric vehicle charging station. Your electrician will also be able to help you figure that out. If your panel can’t take the extra load, you’ll have to upgrade it first.
Step 4: Purchase a Charger
Choose and purchase an EV charger. There are many ways to purchase a charger, but be sure that it meets your electric car charging requirements. Consumer Reports evaluated some in 2020. (Remember, prices are in USD.) Plug ‘n Drive, a Canadian non-profit organization dedicated to EVs, has its own store. You’ll also find myriad options at stores like Home Depot. Do your research before purchasing, including speaking with your electrician.
Step 5: Obtain an Electrical Permit
Your electrician will contact the ESA to file a notification before starting installation. If the person you’ve hired tells you this step isn’t necessary, cancel your contract immediately and report them. Installing a home charger deals with a high amount of voltage: you don’t want to risk injury or a fire.
Step 6: Charger Installation
Installing the electric car changing station at your home should be a simple process once you’ve received your permit. Your electrician will look after everything.
Step 7: Inspection
Your electrician will arrange for a final inspection by the ESA to ensure everything is correct and meets code. Again, this is required by law. (An electrician who doesn’t arrange for an inspection is a red flag.) If the work passes inspection, the ESA will issue a Certificate of Acceptance. Ask for a copy for your records.
Simple But Regulated
Installing an EV charger can be a scary thought that might stop you from installing one in your home and maybe even prevent you from buying an EV or hybrid. However, with the simple steps we just walked through and a trusted electrician guiding you, hopefully we’ve shown you that it isn’t too difficult after all. In fact, installing an electric car charging station at home will make owning an EV or a hybrid even more convenient.


